 Hungarian (hu)
 English (en)
 German (de)
 Romanian (ro)
 Slovak (sk)
 Ukrainian (ua)
 Polish (pl)
 Netherlands (nl)
 Czech (cz)
 Bulgarian (bg)
 Indonesian (ie)
 French (fr)
 Spanish (es)
 Turkish (tr)
 Swedish (sv)
 Finnish (fi)
 Chinese (Simplified) (cn)
 Danish (dk)
 Estonian (et)
 Greek (el)
 Italian (it)
 Japanese (ja)
 Latvian (lv)
 Lithuanian (lt)
 Norwegian (Bokmål) (nb)
 Portuguese (pt)
 Russian (ru)
 Slovenian (sl)
 Korean (ko)
 Arabic (ar)
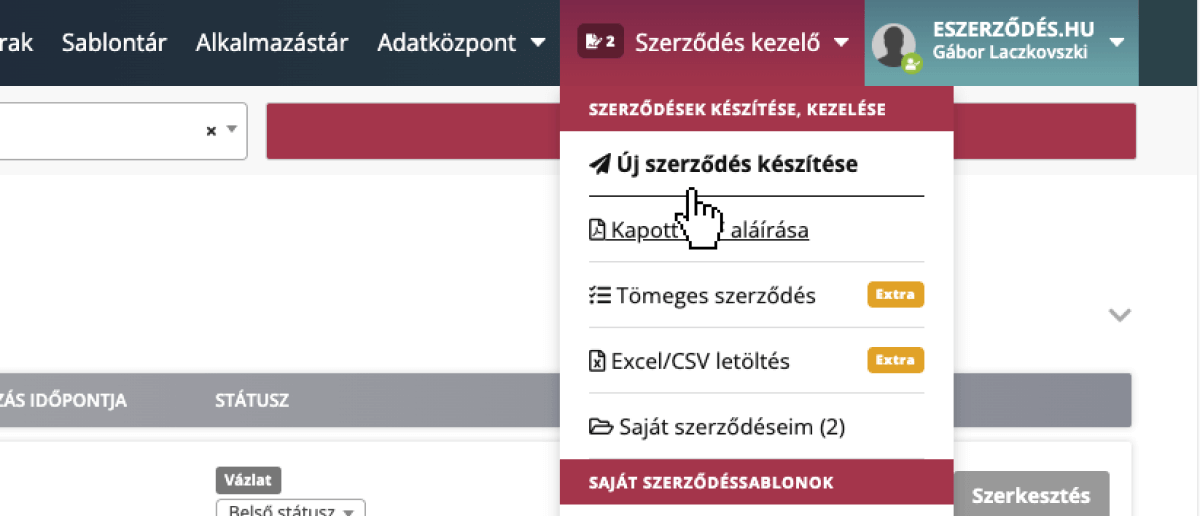
Open the Contract Manager menu and click on “Create New Contract”.
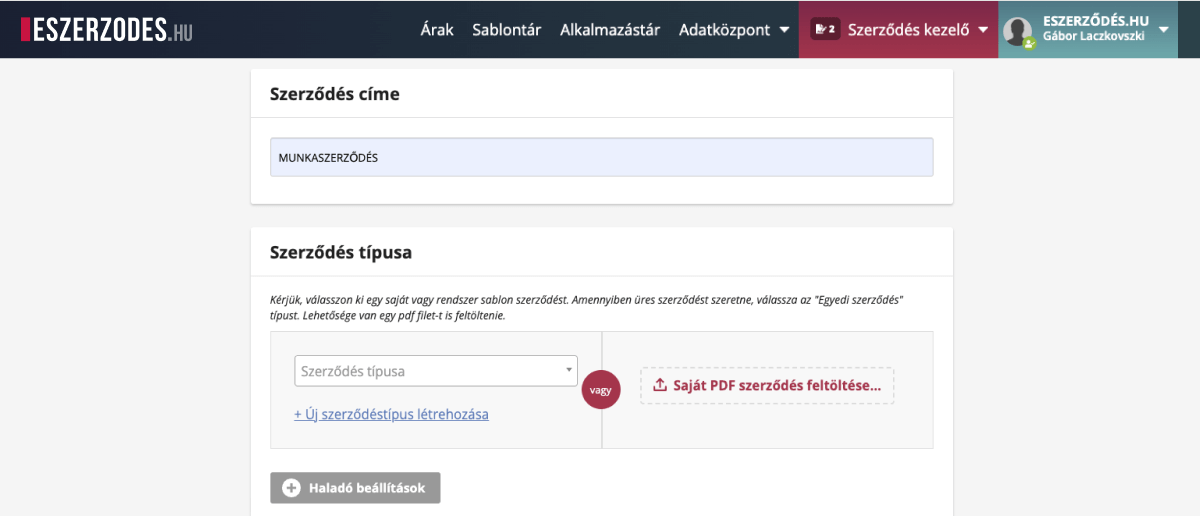
First, enter the title of your contract, then select one of the contract templates you have previously created.
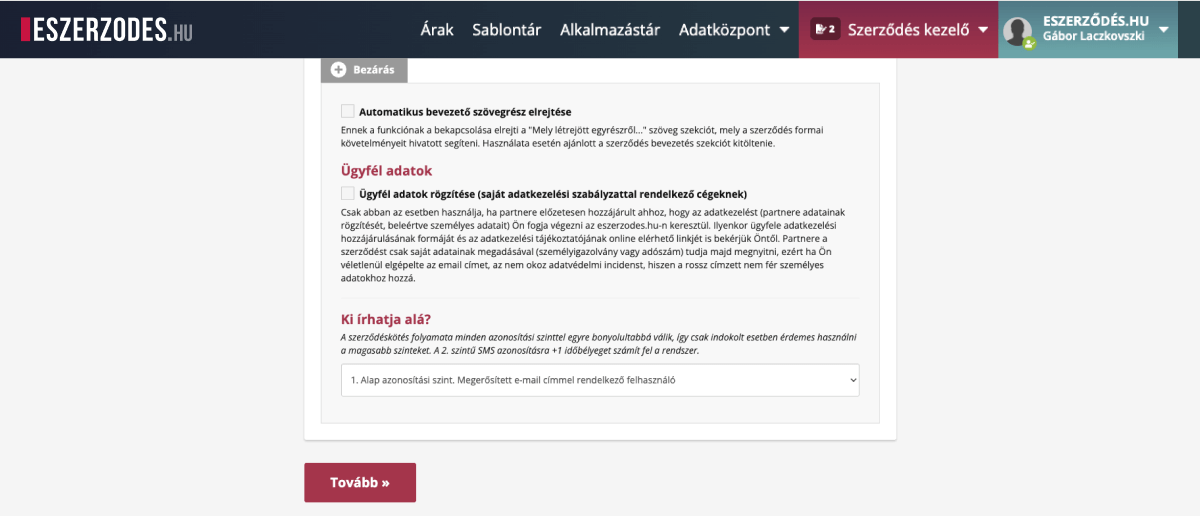
In the advanced settings, you can enter the signers’ details, which will be pre-filled in the contract.
Tip: The three-level verification (email/network data, phone verification, eID) provides extra security. However, since the second and third levels make signing more complex, we recommend using them only when necessary.
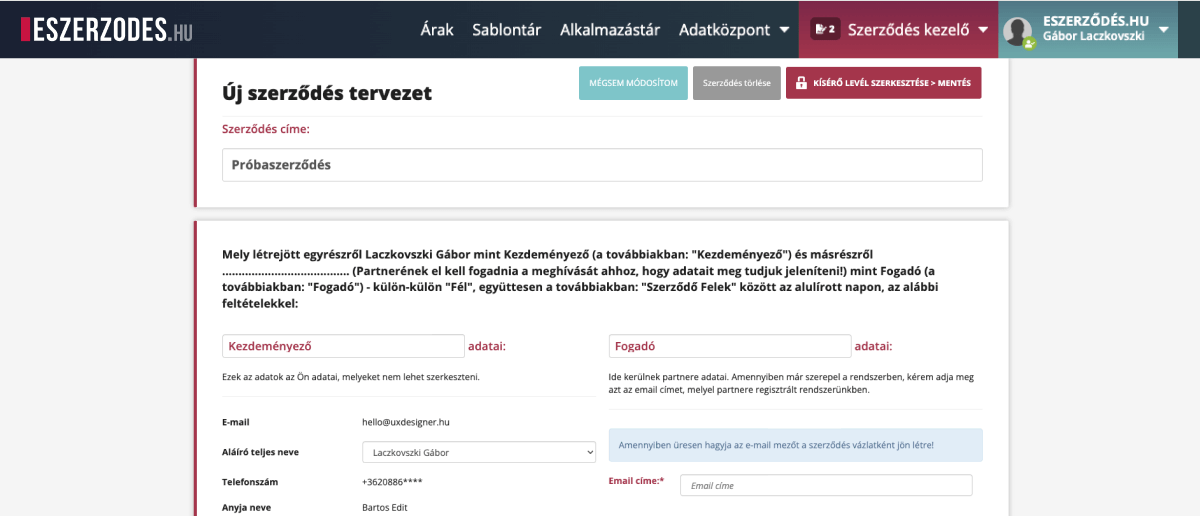
Enter the partners’ email addresses and fill in the variable fields. This ensures that no important information is missing and helps prevent errors when filling out the contract.
By default, our system requests the partner’s data from the signers themselves, but if you prefer, you can record their details manually by clicking the “Add Client Data” button.
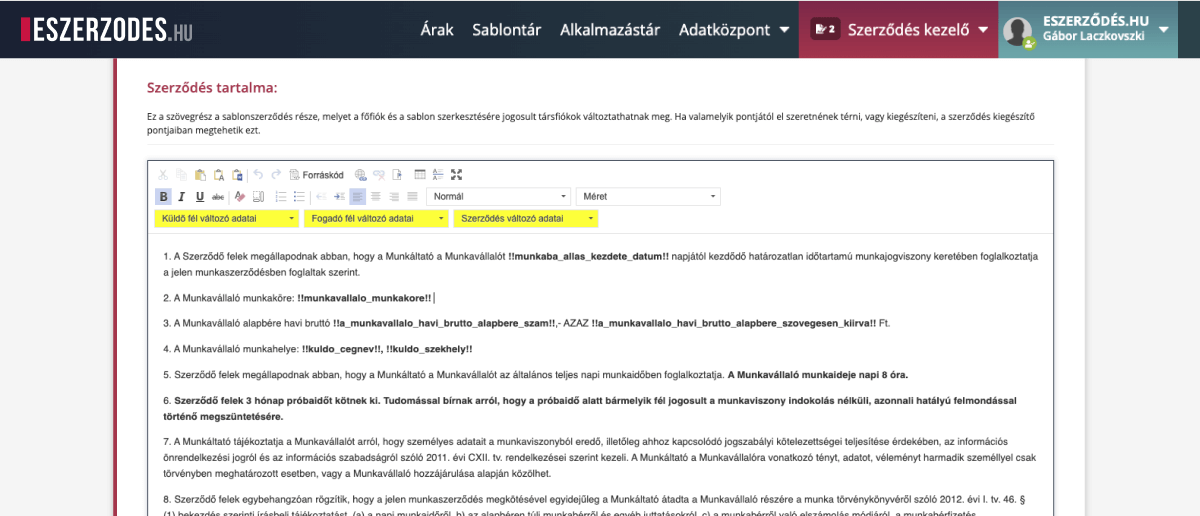
If you have the necessary permissions, you can edit the contract text at any time, even adding new paragraphs. This allows you to customize the document and make changes during the signing phase whenever needed.
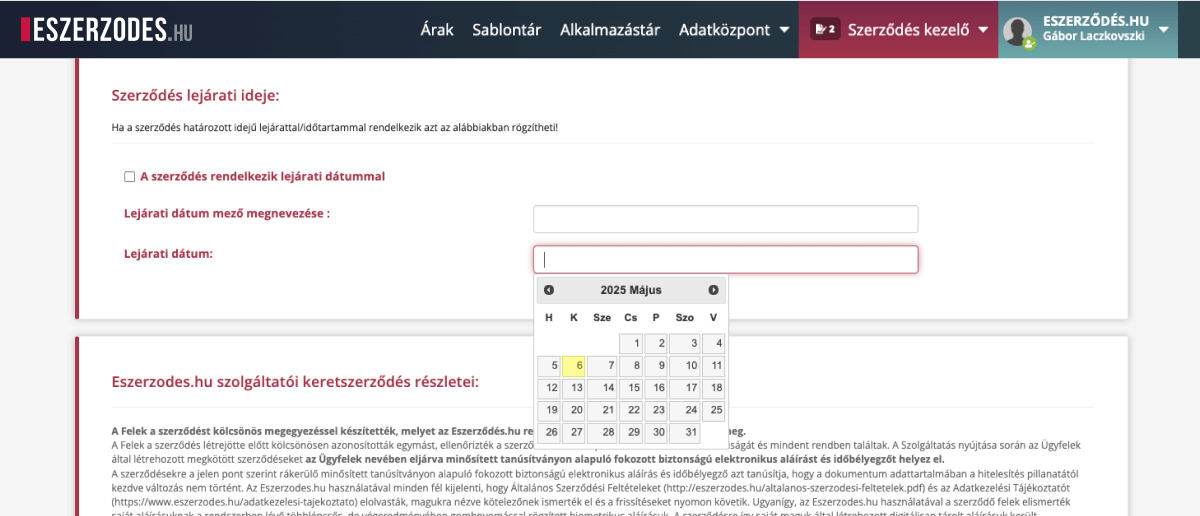
If the document is valid for a fixed term, fill in the relevant fields below. Based on this data, the system will automatically notify you and your partners when the document is nearing expiration.
Tip: In the contract list, you can filter documents by expiration date using the Advanced Search feature.
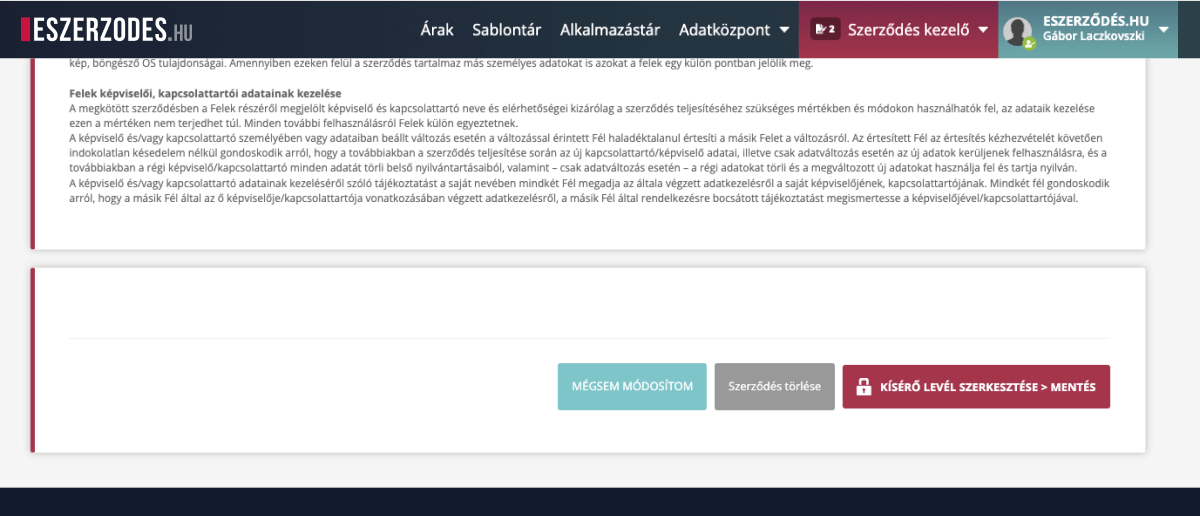
Once all required information has been filled in, your contract is ready to go. From this point, the rest of the process is fully automated — the system notifies the signing parties that they have a contract to sign and sends automatic reminders as needed.
Tip: If you need to modify or correct the document later, don’t worry — during the signing stage, you can still make edits or delete it. However, once all parties have signed, no further changes can be made. The system will generate the final PDF and distribute it to all parties, moving it automatically to the “Signed Contracts” section.